Friday, March 21, 2014

THE MAKING OF THE MR ROGERS NEIGHBORHOOD MINIATURE TROLLEY

I have decided to break down the "Behind the Scenes" making of my Mister Rogers Neighborhood living room miniature into separate posts. This one is focussing on the making of the miniature trolley. This was one of the smallest things I have ever made, but one of the most magical little things to hold.
Of course everything begins with a design. Here is the scale drawing I did based on the actual trolley itself. I did not have the plans or dimensions so I used pictures to and video footage to scale it myself. Here is a shot of the actual Trolley from the television show. 
I used this picture as a reference for the scale of the trolley miniature itself. 
I started the miniature with a base made of balsa wood. It's lightweight and easy to manipulate. You can see below the scale on the cutting mat is in inches. The trolley itself is only 1-1/2 " long.
Next I created the walls to divide the trolley seats. I use white glue and crazy glue for all my models, depending on the job.
I used tweezers to put things into place. I have a pair of tweezers that also have a magnifying glass on it. Very useful.
The seats begin to take place. Although I feel it may be a bit crowded or maybe the seats are a bit too deep, I usually just go with the flow.
I also use thick card and regular paper to create walls and exteriors. So hard to cut. I wish it was easier to cut such small patterns, but I learn as I go.
I found that different wire gauges are useful for the posts. One is a thin craft wire and one is a thread wire. Here you can see the card in place as the front. 
Here you can see wire and card in place. I put the card first then the wire post after.
Starting to take shape.
The top of the Trolley is also made form balsa wood. This makes it easy to sand down the edges to create that rounded top. Im pretty happy with it.
I used the tips of Toothpicks to create the lights on the front of the trolley. It seemed like the perfect scale.
Here you see the trolley top in place. I gently pushed the wood onto the sharp edges of the wire and then took it off, glued the holes and put it back on again.
The rounded top was also made from balsa wood, The roof was made from card stock as well. Starting to look completed!!
Front View!!
I used the card stock as the wheel base as well. its a nice strong card and worked out perfectly. Ready for paint!
Here you can see the trolley getting painted. I started by painting the entire thing black and then added the red on top. I thought this would be the easiest way.
Love this color red.
Here you see the trolley all painted red with the black interior.
Sitting on my finger for scale......so tiny!!
Scale reference as well. The paintbrush is a detail brush....
Then I painted the orange red color on the seats. 
The top was made from card stock and colored yellow with marker and then the words were hand drawn with a .005 permanent marker...sooooo difficult.
Here you can see the plans for the trolley track. I used my model plan to trace out the track so i could work on it away from the model then put it into place after.
Here you can see the track in place on the model from above. The track is made form brass thread wire.
Behind the wall the track ends....
...on both sides.
Looks great in place!!!
Thanks a lot for checking this out!! More posts to come!!

Sunday, March 9, 2014

MISTER ROGERS NEIGHBORHOOD TELEVISION HOUSE MINIATURE

THE MR ROGERS NEIGHBORHOOD MINIATURE LIVING ROOM SET

  Thank you so much for checking out my Mr Rogers Miniature living room set!
This includes the living room and also part of the front porch! 
I created this model from scratch, including furniture, plants, carpets, etc. 


No blueprints...just hours of research and picture viewing. I also custom made the fabric for the couch and curtains. 
I tried to keep it as `TV Studio`As I could, including the quality of the lighting. 
The colors and fabrics are all authentic to the original.   
I made all the furniture from balsa wood and hardboard depending on the situation.
The fabrics are all fabrics and most of the furniture is functional as it would be in person.
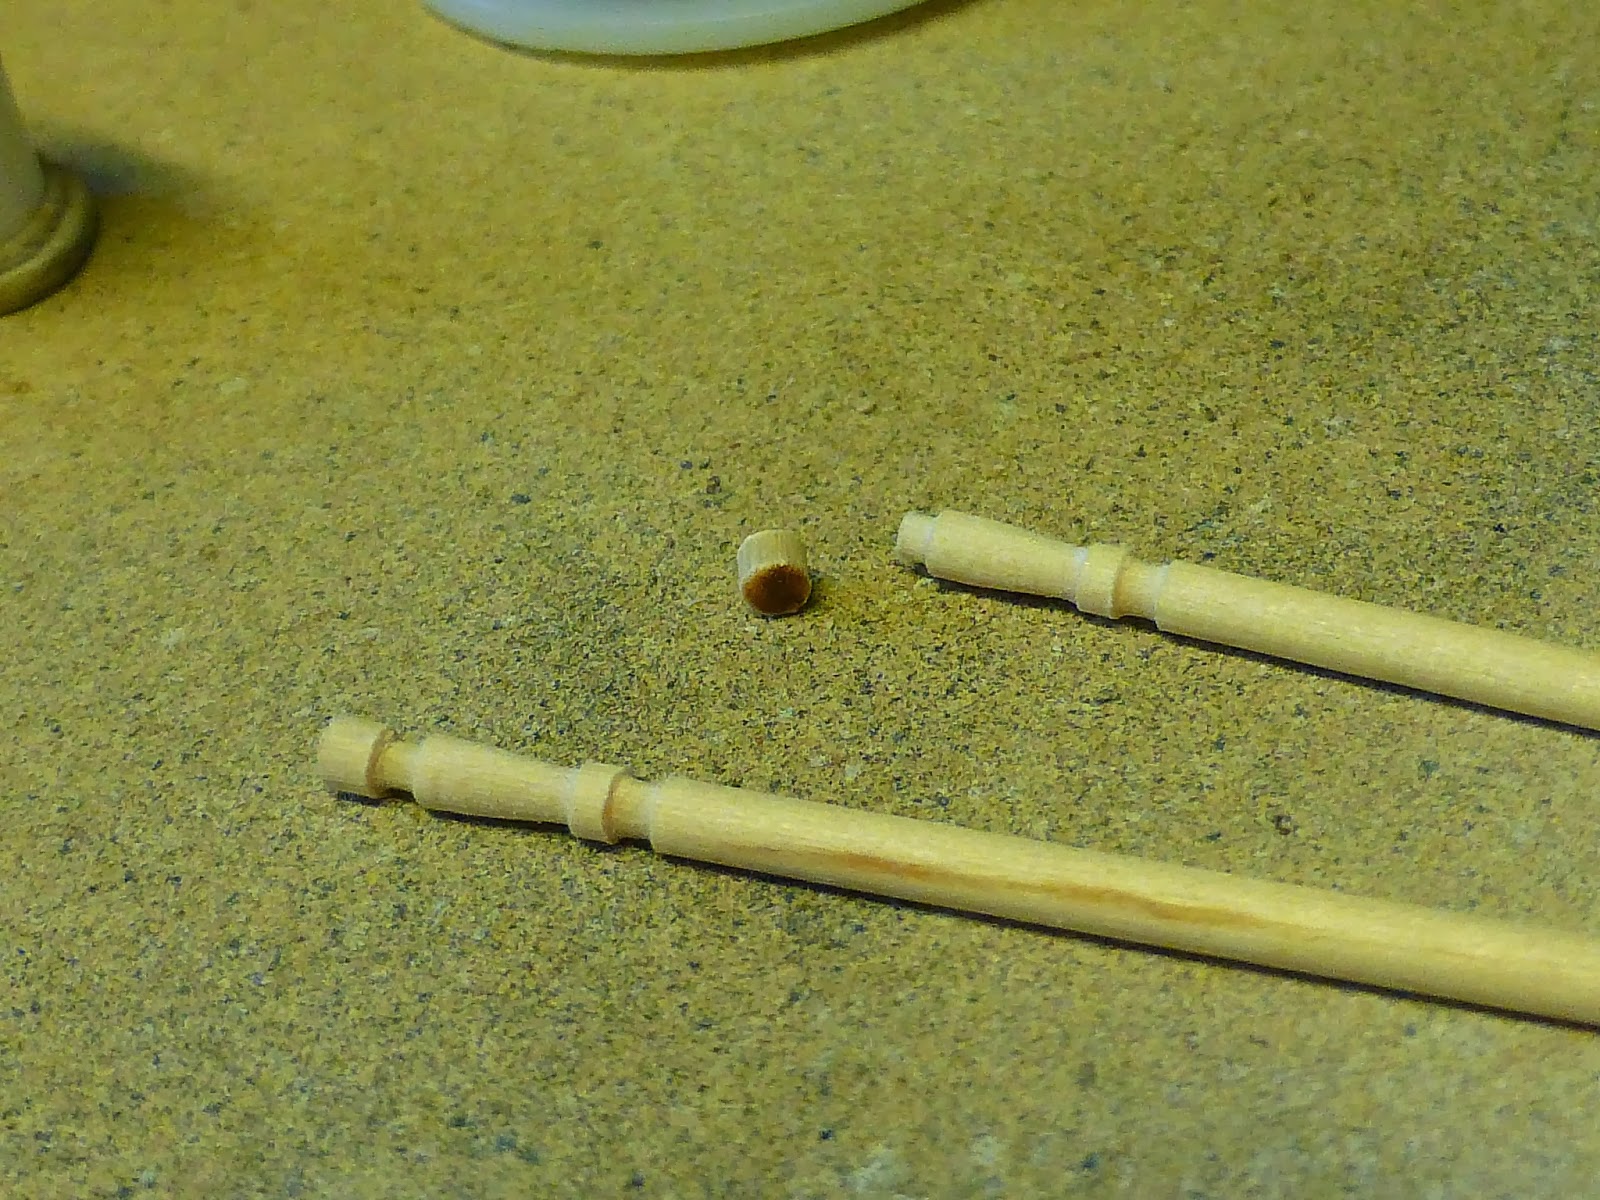
I had to custom make these posts to match the original.
Even the 1960s wall pannelling
I had to custom make the fabric by hand.
I used brass jewelery rings for the curtains and custon made the brackets.
The doors are custom made, as well as the hardware.
This is made from plastic for durability
The coat closet is stocked with custom sweaters and boxes as seen in the series.
The sweaters are made from fabric and string, wrapped around a form so it was the right scale and hung correctly.
The vintage 60s hangers are hand made.
The boxes are made from vintage 60s cards for the right colors.
I used the same fabric for the curtains and the footstool
The trolley and window seat were the hardest to figure out...
...but I got it eventually.
The trolley was the smallest and most complicated thing Ive ever made and I am so happy with how it turned out!!
The track is made from thread sized copper wire.
It is not functional but the trolley is removable and holding it is magical.
The pillows are hand sewn and stuffed. The padding is also fabric but painted the custom blue color it is. The trolley controls are made from beads and metal jewelery bits.
The side cabinet is balsa wood and stained. The knobs are pin heads.
The plant is custom made from wire and paper and paint.
The books are scratch built as well as the video cassette and film reel tins to put into Picture Picture's magic player! (hole in wall)
"Picture Picture" was pretty diffucult to construct due to its recessed image. The original picture picture was a projector screen which had slides to change the image.
I printed a peice of art, covered it in a translucent film and then lit it from the rear with a reading light for the projected effect!!
The bricks on the planter are one of the only pre fab items in the model. It was also one of the most difficult things to paint to match the original. The plants are custom made from wire and paper and paint. The phone is carved from wood and the cord is twisted thread wire.
The stoplight is scratch built and the lighting was done with dollhouse lights and batteries.
The couch is a replica of the Simmons 1965 "Wood-Winged" Hide-a-bed. I was very lucky to find an old ad that showcased this very one since it is RARELY seen on the show.
The fabric was hand painted with professional markers to match the original pattern. 
This is the first couch I have ever upholstered in any size....it was very difficult.
The cushions come off of the couch to make a couch fort!!

The buttons are mini scrapbooking tacks. Sometimes wandering every isle of a craft store is useful as a miniatuist.....
This coblers bench is hand made and the drawers are operational.
The carpet is made from white kite string glued to a base and painted to match the orignal
The set is made to look like the original TV set, including the floor and wall flats.


THANKS FOR CHECKING THIS OUT!
If you wanna see the "Behind the Scenes" making of this miniature, click here:

MAKING OF MR ROGERS NEIGHBORHOOD MINIATURE